
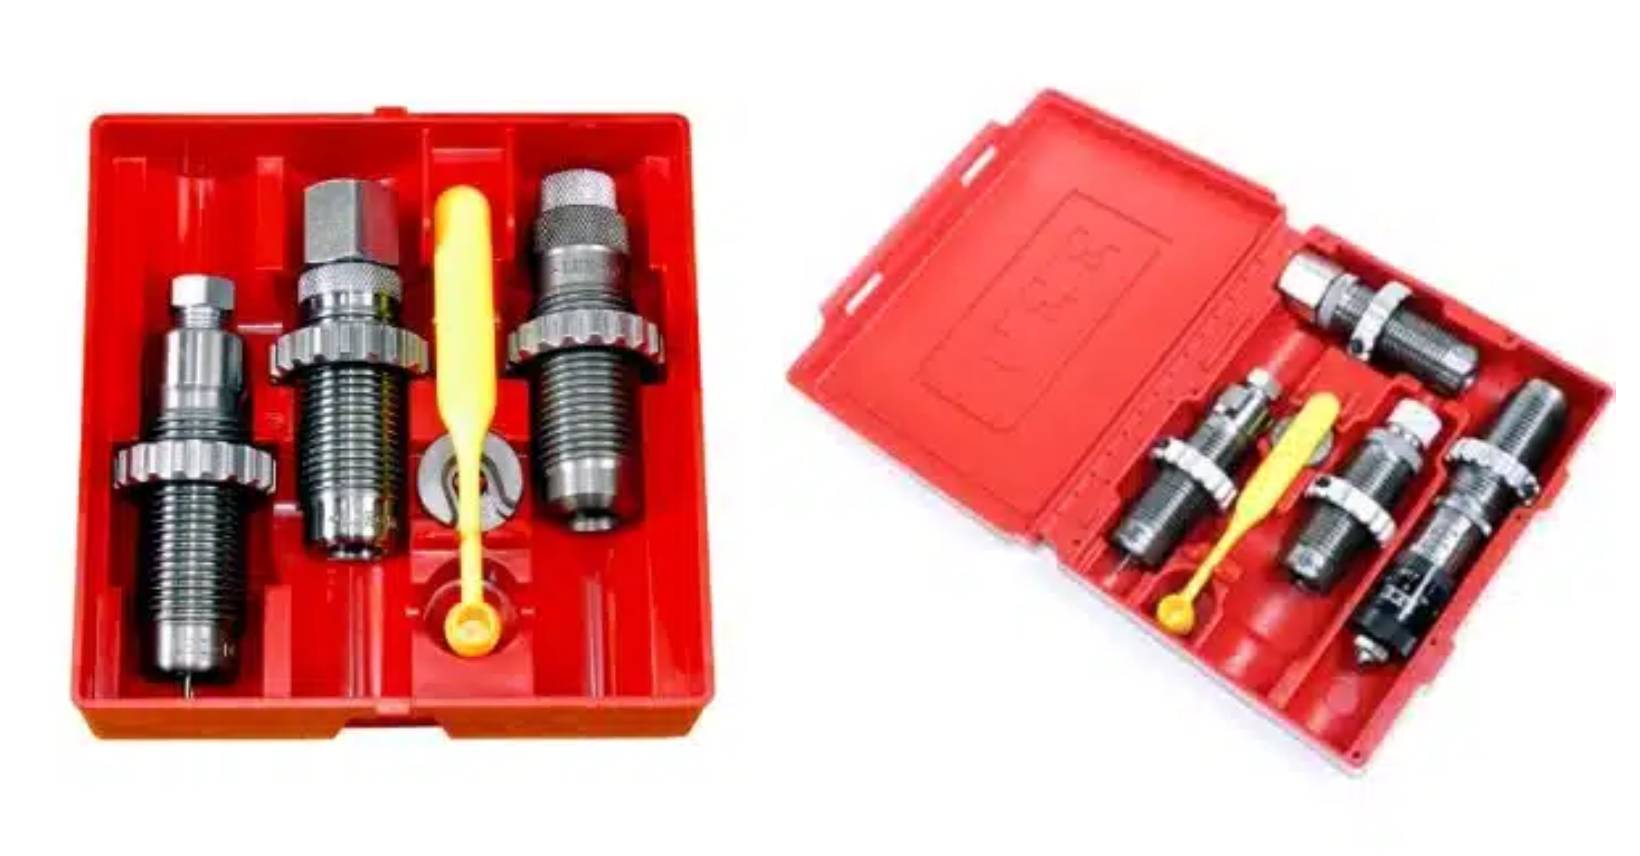
Reloading dies are among the most important tools on the bench, but threading a die into the press and tightening the lock ring does not guarantee consistent ammunition. Small differences in die setup change case dimensions, bullet seating depth, crimp, chambering, and how much the brass is worked on every loading cycle. A die can be perfectly capable of producing accurate, reliable ammunition and still deliver inconsistent results if it is adjusted incorrectly or if the setup drifts from one session to the next.
The goal is not to chase perfection with every adjustment. It is to create a repeatable setup that matches the cartridge, firearm, press, and type of ammunition being loaded, then preserve it. Whether you are setting up your first die set or trying to improve a long-established process, understanding what each adjustment changes is the foundation of better consistency.
Start With the Correct Dies, Shell Holder, and Instructions
Before making any adjustment, confirm that the dies are intended for the cartridge you are loading and that the shell holder or shell plate matches the case head. Dies for different cartridges can look identical, but dimensions and setup steps vary, and the sequence changes between straight-wall pistol cartridges, bottleneck rifle cartridges, and cartridges that crimp in a separate operation. Read the instruction sheet that came with the die set once, start to finish, before anything goes into the press. The procedures below are typical of most threaded dies, but your sheet is the authority if it differs.
Clean the Dies Before Initial Setup
New dies ship with protective oil and sometimes machining residue. Used dies collect case lubricant, brass shavings, and carbon. A dirty seating stem or sizing die introduces variation that is easy to mistake for an adjustment problem, so wipe the interior surfaces with a clean patch and solvent, inspect for corrosion or damage, and make sure any cleaning product is gone before the die returns to service.
Set Up the Sizing Die for Reliable Chambering
The sizing die is adjusted first because it controls the dimensions of the fired case before anything else happens. The standard procedure for a full-length sizing die is to raise the ram to the top of its stroke, screw the die in until it touches the shell holder, lower the ram, and then turn the die in roughly a quarter turn more before setting the lock ring. That extra fraction of a turn takes the flex out of the press so the die and shell holder actually meet under load. Lubricate the case, size it, and confirm that it chambers in the intended firearm or drops cleanly into a case gauge.
Turning the die farther in is not automatically better. Oversizing contributes to case stretching and shortens brass life, while undersizing leaves brass that chambers tightly or not at all. Precision rifle reloaders often back the die off from the shell holder and use a shoulder comparator to move the shoulder only a small, measured amount, which is covered in Titan’s full-length versus neck sizing guidance. For most hunting and general-purpose loading, the standard setup is the right starting point.
Confirm Expander Adjustment on Straight-Wall Cases
Straight-wall pistol cartridges use an expander or powder-through expanding die to flare the case mouth for bullet seating. Screw the die in until the flare just lets a bullet sit in the mouth without tipping or shaving. The right amount is visible to the eye, a barely-there bell on the case mouth, and more than that works the brass for no benefit and shortens case life. Set it with a bullet in hand, lock it, and leave it alone.
Adjust the Seating Die in Stages
Bullet seating depth is where reloaders most often make too many changes at once. Begin with the seating stem backed well out. For a seat-only setup, screw the die body in until it touches the case mouth of a sized, flared case in the shell holder, then back it out a full turn so the crimp shoulder cannot reach the case. Lock the body. Now run the seating stem down a little at a time, measuring cartridge overall length with calipers after each change, until the round reaches the length published for that bullet and cartridge.
Length is a safety setting, not just a fit setting. Seating a bullet deeper than the published minimum raises pressure, and seating longer than the firearm’s magazine or chamber allows causes feeding and chambering problems, so stay inside the overall length range from a current reloading manual. Once the stem is set, measure several finished rounds. Variation at this point usually comes from bullet nose profile, case length, or inconsistent press stroke rather than the die, so check those before touching the stem again.
Separate Seating and Crimping When It Improves Control
Many die sets seat and crimp in the same die. That works when the die is adjusted correctly, but it makes setup more sensitive, because if the crimp shoulder engages before the bullet reaches depth, the case mouth and bullet fight each other on the stroke and the result is a buckled case or inconsistent seating. The simpler approach is to set seating depth with the body backed off as described above, then crimp in a separate step.
A dedicated crimp die makes that easy. Lee PaceSetter rifle sets and most Lee pistol sets include a Factory Crimp Die, which crimps with a collet rather than a shoulder and is set by touching the shell holder and turning in a measured amount from there. Our Factory Crimp Die adjustment FAQ gives the exact procedure. Whichever die does the crimping, remember that seating depth and crimp are separate variables even when one die performs both.
Use Lock Rings and Bushings to Preserve the Setup
Once a die is adjusted, the lock ring preserves that position. Tighten it against the press with the die in its final position, and if the ring has a set screw, snug it so the ring cannot rotate on the die. The weakness of a plain lock ring is that removing and reinstalling the die invites small changes. A quick-change bushing system, such as Lee Breech Lock bushings, solves that by leaving each die locked in its own bushing so it drops back into the press at the same height every time. Reloaders who swap cartridges often find it is the single most effective consistency upgrade available for a single stage press. Whatever system you use, write down the setting that worked. A good setup should never have to be rediscovered.
Progressive Presses Need Every Station Verified Together
Consider a reloader moving a .45 ACP die set from a single stage press to a progressive. The dies were locked and the settings recorded, so they go straight into the toolhead. The first rounds come out short of the recorded length by a few thousandths and the crimp looks heavier than before. Nothing is wrong with the dies. The progressive’s shell plate sits at a different height than the single stage shell holder, and the press flexes differently with four stations loaded, so every die is effectively a fraction of a turn deeper than it was.
That is the progressive press lesson. Settings do not transfer between presses, and changing one die can change how the shell plate, cases, and neighboring stations behave. Set each station on the progressive itself, cycle a handful of cases while watching sizing, expansion, powder drop, seating, and crimp, and only then increase speed. A progressive reloading press is most efficient after the setup is verified, not while it is still being discovered. If something changes mid-session, stop and look rather than compensating with more force.
Measure Finished Ammunition Before Loading in Volume
The best verification of die setup is the first handful of finished cartridges. Measure overall length against the published range, check that the crimp is even and the case mouth is not bulged, and confirm that finished rounds chamber in the intended firearm or drop into a case gauge. Do this after installing a new die set, changing bullets or brass, moving dies between presses, or adjusting seating or crimp. A few carefully checked rounds prevent one wrong setting from being repeated across an entire batch.
Watch for Signs That a Setup Has Changed
Even a correct setup deserves ongoing attention. If sized brass suddenly chambers differently, overall length starts wandering, crimp looks uneven, or the press stroke feels different, something has moved. The usual causes are a lock ring that rotated, residue inside the die, a seating stem meeting a new bullet shape at a different point, or brass from a different lot. Good reloaders notice these changes early and investigate before continuing production. Our die questions FAQ collection covers most of the specific symptoms.
Frequently Asked Questions
How often should reloading dies be readjusted?
A properly locked die can stay consistent for many sessions. Re-verify the setup whenever dies are moved to a different press, components change, or finished ammunition starts measuring differently. Verification means measuring a few rounds, not readjusting by default.
Should a sizing die always touch the shell holder?
For most general-purpose and pistol loading, yes, plus a slight additional turn so the die and shell holder meet under load. Precision rifle reloaders sometimes back the die off and measure shoulder movement instead. Either way, follow the die manufacturer’s sheet for that specific die.
Why does bullet seating depth change even when the die has not moved?
The seating stem contacts the bullet nose, so bullets with slightly different nose profiles seat to different lengths, and variations in case length, press stroke, or debris in the stem all show up as length variation. Check those before adjusting the die.
Is a separate crimp die better than seating and crimping in one die?
It is easier to set up and troubleshoot because the two adjustments are independent, which is why most Lee die sets include a Factory Crimp Die. A combination seat-and-crimp die can produce consistent ammunition too, but it must be adjusted so the crimp does not start before the bullet reaches depth.
Should dies be cleaned regularly?
Yes. Clean them before first use and whenever lubricant, brass shavings, or carbon accumulate. A clean seating stem and sizing surface remove one of the most common hidden sources of variation.
Consistency Starts with a Repeatable Die Setup
Dies do not need constant adjustment to produce good ammunition. The goal of proper setup is to eliminate adjustment once the right position is found. Sizing should produce brass that chambers reliably without excess working. Expansion should be just enough. Seating depth should be set in stages, measured, and kept inside the published range. Crimp should be applied only as the cartridge requires. Lock everything, record it, and verify the first rounds of every batch.
At Titan Reloading, we believe consistency comes from understanding how each tool affects the process rather than simply adding more equipment to the bench. Quality reloading dies, shell holders, presses, measuring tools, and brass preparation equipment make adjustments easier to control, but good results still depend on careful setup and repeatable technique.
Explore Titan Reloading’s selection of reloading dies, presses, and accessories from trusted manufacturers, and choose equipment that fits your cartridge, shooting discipline, and reloading workflow. A well-set-up die system gives you a dependable starting point every time you return to the bench.